If you want the fastest internet speeds, you have to use an ethernet cable. Wifi can’t accommodate High-quality video calls or the fastest gaming sessions. In this post, we will discuss how you can run an ethernet cable through your home. This ethernet cable has to be connected to your modem. Your internet provider will typically give you one and often install it for you as well.
The internet connection (Fiber, cable, or DSL) has to run to the modem. From this modem, we are going to run the ethernet cable to the location that we need them (often these are outlets). Most modems have 4 ports so you can run 4 cables from them. For most people, this is more than enough.
[ez-toc]
The first step is to pick the right cable. If you search for ethernet cables online, you can find different qualities. Category 7 cables are the best option as they can offer up to 10 Gigabit per second. You can also use different cables based on your needs.
Pick the one with the internet speed that you want. It is also important that you get the right length for your application. It is better to pick a cable that is too long. You can always store a part of the cable behind a wall. Picking a cable that is too short is annoying as adding parts can delay the internet speed. Once you have the right cables, we can start to run them through the wall or under the floor.
How to run ethernet or Fiber cable through walls: get wired internet in another room of your home
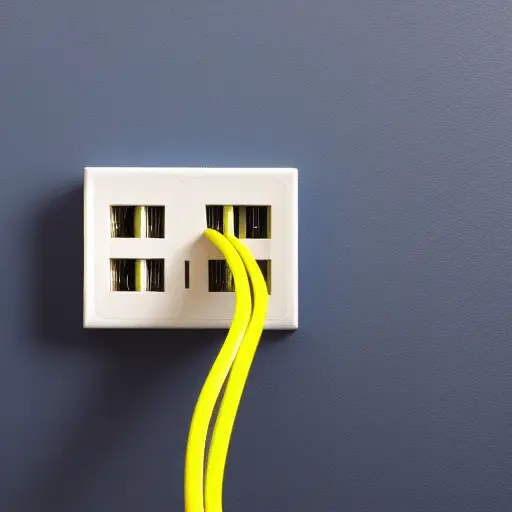
Similar to electricity, it is possible to run an ethernet or Fiber cable in the wall. Then you have an outlet in the wall that allows you to attach another cable that you can attach to your computer. Installing this cable can take a few steps though. If it is a renovation project, you can run the ethernet cables parallel with the electric cables. Make sure to keep some distance between the two cables (as described in your local code).
If it is a finished house, we will have some more work as we have to run the cables through the finished walls.
Getting the Ethernet or Fiber cable between walls: how to get ethernet in my room
Start by studying the floorplan to check where the cable has to run. Once you know where the cables have to run through, you can use a drill bit to get a hole in the wall if the cables have to pass there. It is best to do this in a closet or location that is less visible.
Check with a stud finder before you do this so that you don’t damage electrical wires or plumbing. Drywall makes it easier to install the cable than plaster but the approach for both is the same.
Getting the Ethernet or Fiber cable through the inside of a wall.
Once you have a hole in the wall, we can push the cable in it. You can attach the cable to the drill bit with a wire. Alternatively, you can use a small stick that enters the wall where you want to get the cable out and attach a wire to it. Then you just pull the drill bit or stick so that the cable comes with it.
Don’t bend or crush the cable as this can lead to a slower connection.
Once the cable is through the wall, you can cut it and add the connector. You will need a crimper to do this. First, you have to cut the cable at the desired length. Once this is done, we can remove the jacket of the cable using scissors.
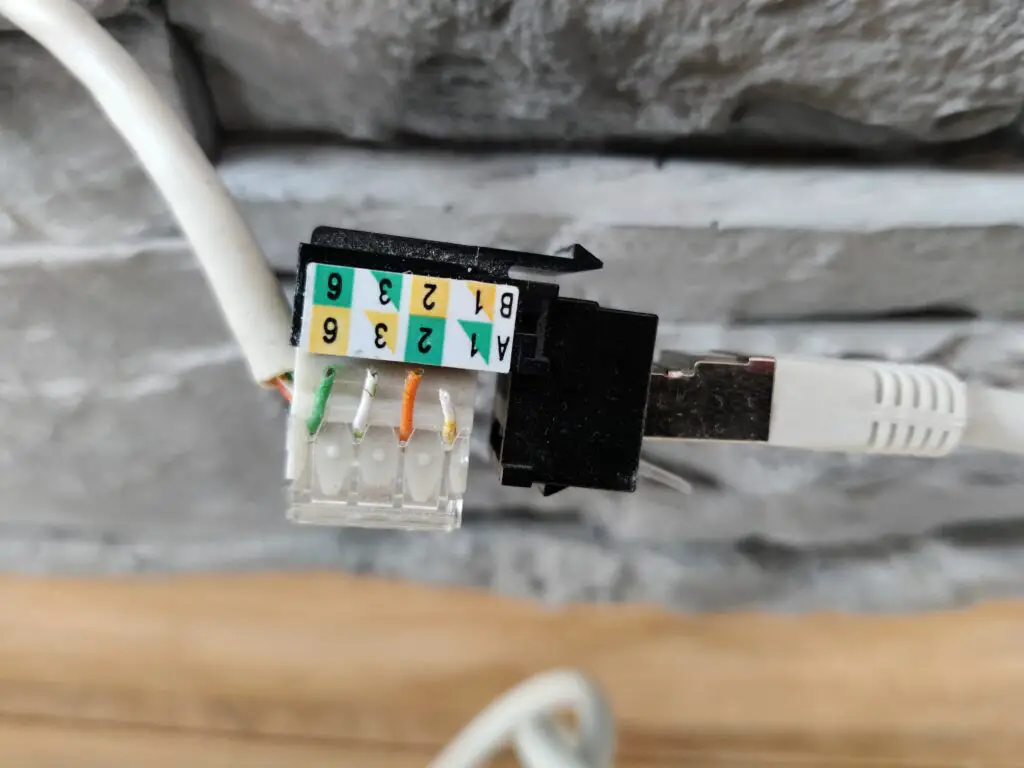
Untwist the cables and put them in the correct order. The order is generally white, orange, white-green, blue, striped blue, green, white-brown, and brown. Once they are in order, you can add the connector. The final step is to use your crimper to close the connector. This connector can be added to the outlet. You can use a tester to see if the connector works.
Installing the outlet
Installing the outlet itself is quite straightforward as well. You will need a low voltage mounting bracket. You can use this box to determine where you have to saw the outlet in the wall as well. Some people just run the cable through the wall as they believe that the outlet adds another point of failure.
If you live in a rental, you might not be able to drill in the wall as this can cause damage. You can use adhesive clips to add them to the baseboard instead. You can then add a trim over it to hide the cable. The cable might be visible in some areas though so it is not a perfect solution.
How to run an ethernet or Fiber cable between the floors of your home
If you need multiple connections on the same floor, you can add a router. This works quite similar to a modem but allows you to run one ethernet cable to the other floor. From there you can add a router that allows you to split one cable into multiple cables.
This allows you to run one cable between floors. Modems are quite cheap. You can also get more advanced models that support a lot of ethernet cables. This might be needed in offices or apartments.
To get the cable to another floor, you can run it over the baseboard on the stairs. Then you can think of a wide of hiding the cable. You can use cable clips to attach the cable to the wall. This is not the neatest solution though as you can see the cable run. This can also lead to damage as people can touch the cable and break it.
In most instances, there is already electricity or plumbing running between floors. Look at this area and try to see where you can run the ethernet cable safely without too much drilling.
You can also drill a hole in the floor if there is no easy way to get the cable upstairs. Open up the wall with a saw by using the old low voltage workbox to determine the size. Once it is opened, you can use a special drill head to drill straight down. Let the drill turn slowly and don’t force it. Stop drilling when you hear weird noises.
To get the cable through the hole, we can connect it to the drill bit with a wire. Then we just take the drill bit back up and can take the ethernet cable with it. Once this is done, we just connect it to the outlet and we are done.
Use a stud finder if needed. Make sure that you don’t drill in the plumbing or electrical lines when you install the ethernet cable. You can look at the plans of the house to see what the most convenient location will be to drill a hole to push the cable through it.
Be careful that you don’t chip or damage the cable when you push it through the hole. You have to make the hole bigger so that the head of the cable can get through it as well. You can use silicone or some putty to close the hole again once the cable has run through it. Ethernet cables last a long time but it is possible that you want to upgrade to a faster one over time so make sure that it is possible to remove the cable without too much damage.
You can also attach the cable under a wooden floor using cable clips.
To conclude, we can state that installing an ethernet cable is quite easy. Just make sure that you don’t bend it too much and get one that is long enough.
The main challenge is hiding the cable in a house. The easiest way to do this is to install it in the wall. If you have to work between floors, you can use a modem to reduce the number of cables that are needed.
This requires some planning but once you have a drawing of where you are going to install the cables, it should be quite straightforward. Just make sure that you don’t damage plumbing drains or electric cables!
There are also alternatives if you don’t want to install Ethernet cables in your house.
https://www.downloads.netgear.com/files/wnr854t_setup_manual.pdf
